Creating Slides Has Never Been Easier
This is a tool that I use almost on a daily basis when creating slides for my classes.
Imagine the convenience of taking content from ChatGPT and transforming it into a fully functional slide deck in seconds—without manually creating each slide.
That’s exactly what this automation allows you to do. With just a few steps, you can take content from a Google Docs file and automatically generate a Google Slides presentation, complete with titles, key points, and structured content.
This saves you time, energy, and ensures consistency across your presentations. You will still need to sort out the theme and other formatting, but the hard part of getting content into Slides is done.
So, let’s dive into the details and see how you can use automation to transform your Docs into fully developed slideshows in just a few clicks!
Apps used:
The workflow:
-
ChatGPT – create and get content
- Docs – paste content from ChatGPT into Docs
- Apps Script – generate and paste code from ChatGPT
- Copy the Docs ID and run the script
- Slides created successfully
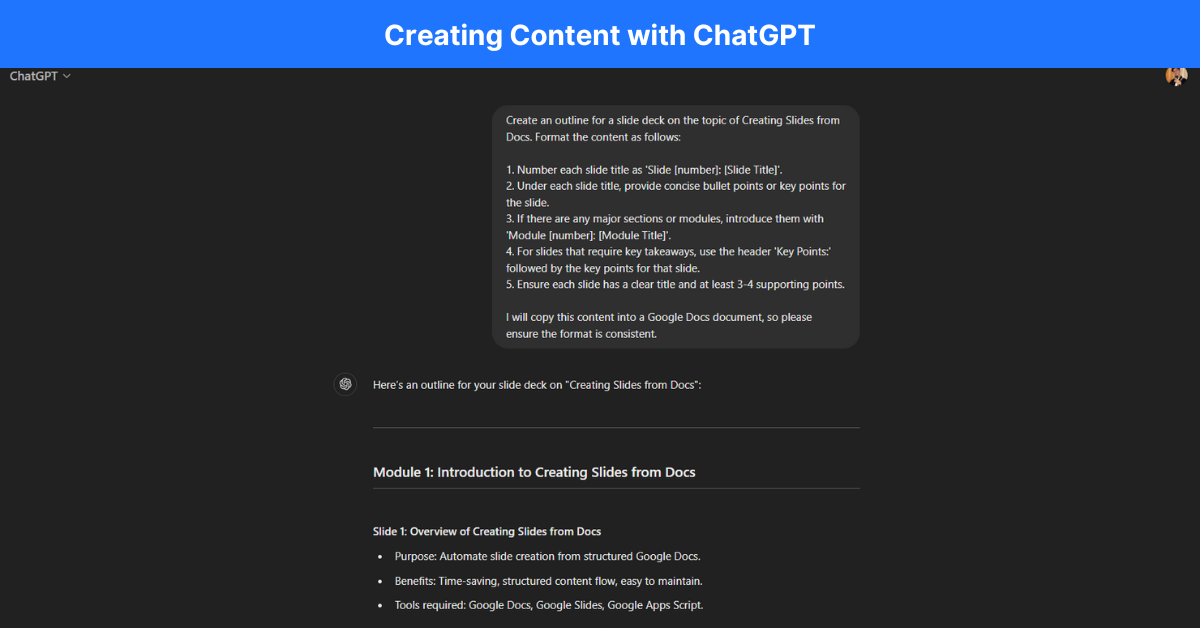
STEP 1: Creating Content with ChatGPT
If you already have content in Docs format, you can skip this step – proceed to step 2.
1. Prompt ChatGPT to create a slide deck for you on any topic. Usually, I will spend the most time curating the slide deck with ChatGPT by iterating some prompts and prompting it to expand or get rid of certain points in the slide deck.
In this particular demo, I have created a simple demo as a starting point for all of you who are trying this out. The prompt we’ve used is:
Create an outline for a slide deck on the topic of Creating Slides from Docs. Format the content as follows:
1. Number each slide title as ‘Slide [number]: [Slide Title]’.
2. Under each slide title, provide concise bullet points or key points for the slide.
3. If there are any major sections or modules, introduce them with ‘Module [number]: [Module Title]’.
4. For slides that require key takeaways, use the header ‘Key Points:’ followed by the key points for that slide.
5. Ensure each slide has a clear title and at least 3-4 supporting points.I will copy this content into a Google Docs document, so please ensure the format is consistent.
2. This is important – ensure that ChatGPT lists out the slides in a certain format as this will help in Step 3 when we generate the code using ChatGPT. The prompt above helps to keep the output formatted the way we need it to be.
Check out our conversation with ChatGPT here: https://chatgpt.com/share/66ef96c8-3d24-800b-8f47-6522effefc75
3. Pro-tip: you might have your own prompts that you use to generate content for slides, to ensure that ChatGPT outputs the slides in the desired format, use this prompt to ensure correct formatting:
Hey GPT, please format the content as follows:
- Number each slide title as ‘Slide [number]: [Slide Title]’.
- Under each slide title, provide concise bullet points or key points for the slide.
- If there are any major sections or modules, introduce them with ‘Module [number]: [Module Title]’.
STEP 2: Paste Content from ChatGPT into Docs
This is the easy part, just ensure that the formatting is correct and that the output has the right prefixes. Eg, ‘Module’, ‘Slide’
- Create a new Docs file and paste the output from ChatGPT here.
- Take note of the Docs file ID (which you can find in the URL bar). Example: https://docs.google.com/document/d/1ZblPpX48ulmdGMicj25kgcDdfS5-u2TdlMEQPaieOVY/edit (anything between /d/ & /edit, is your Google Docs ID)
STEP 3: Google Apps Script – Generate and Paste code from ChatGPT
Now we are going to get the codes from ChatGPT.
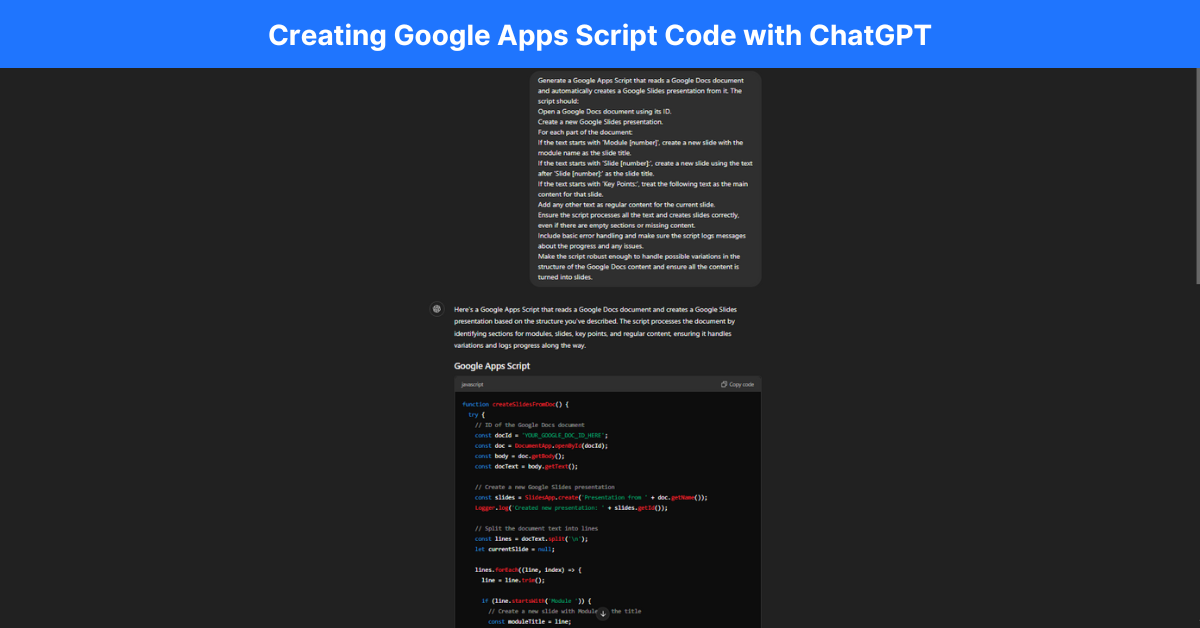
This is where the fun is, where we get ChatGPT to generate the code for us. To do this, use the following prompt.
The Prompt to Generate Code
- Generate a Google Apps Script that reads a Google Docs document and automatically creates a Google Slides presentation from it. The script should:
- Open a Google Docs document using its ID.
- Create a new Google Slides presentation.
- For each part of the document:
- If the text starts with ‘Module [number]’, create a new slide with the module name as the slide title.
- If the text starts with ‘Slide [number]:’, create a new slide using the text after ‘Slide [number]:’ as the slide title.
- If the text starts with ‘Key Points:’, treat the following text as the main content for that slide.
- Add any other text as regular content for the current slide.
- Ensure the script processes all the text and creates slides correctly, even if there are empty sections or missing content.
- Include basic error handling and make sure the script logs messages about the progress and any issues.
- Make the script robust enough to handle possible variations in the structure of the Google Docs content and ensure all the content is turned into slides.
The Code
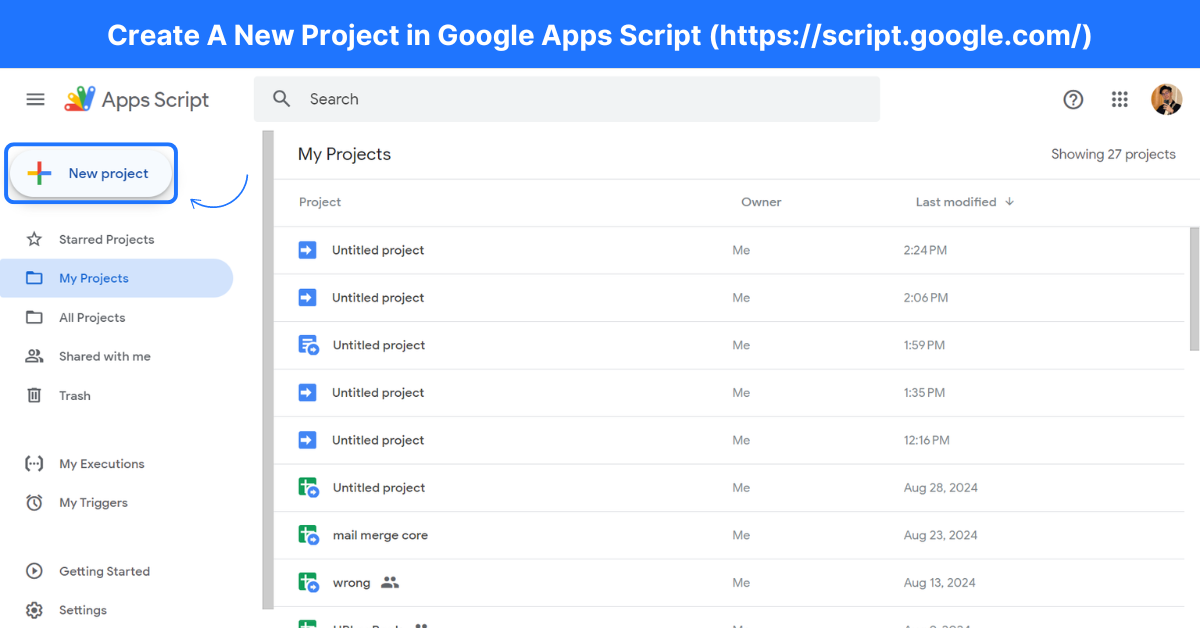
STEP 4: Paste The Code in Google Apps Script
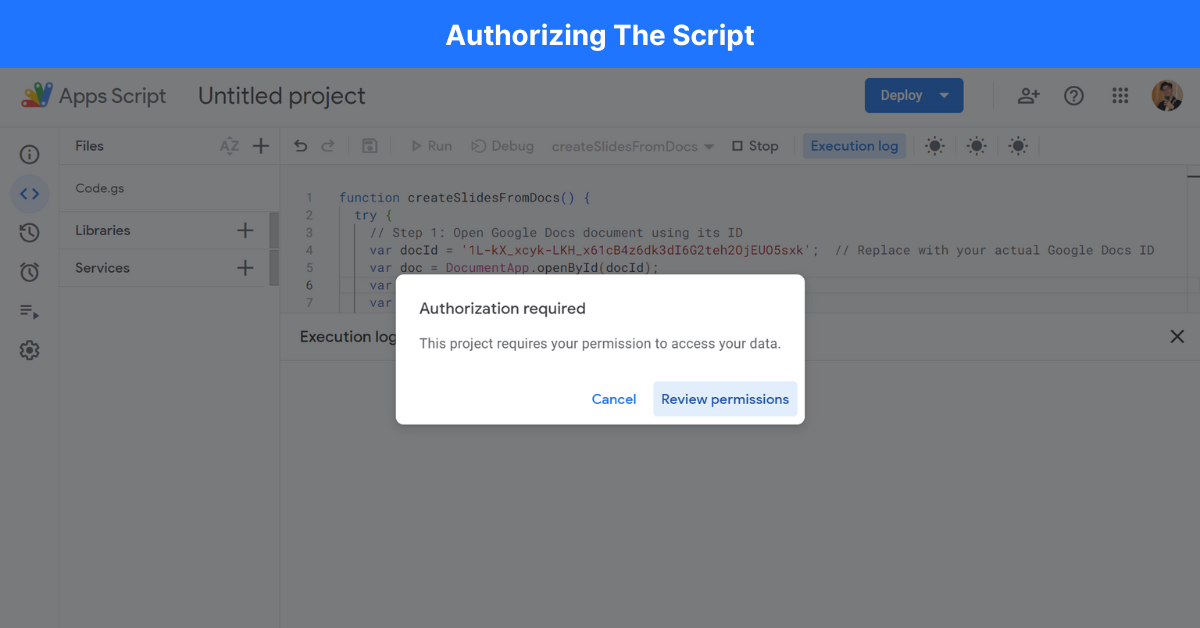
Firstly, go to https://script.google.com/ and create a new project, then delete every existing code.
Now, copy & paste the code you’ve gotten from ChatGPT.
STEP 5: Slides created successfully
After saving & running your script, you should see the slides being created in the Execution Log of Google Apps Scrip.
A new Slides file will be created, you can find the file either in Drive or it’s easier to look for it in Google Slides here – https://docs.google.com/presentation/
Apply formatting to the slides and that’s it!
Conclusion
We hope our tutorial video and blog helped you successfully create your slides automatically! Now, you can easily reuse this code whenever you have new content—just replace the document ID, and you’re good to go!
When it comes to troubleshooting, keep in mind that working with generative AI can be a bit unpredictable. You might not get the right output every time, even if you use the same prompt. Just follow the steps provided, and don’t be afraid to prompt the AI again with any errors you come across.
With each try, you’ll get better results and more confident in using AI to automate your tasks. Happy automating!
By Ali Reza Azmi
Founder & Consultant @ Twenty-Four Consulting
By Ali Reza Azmi
Founder & Consultant @ Twenty-Four Consulting
Related Posts

